
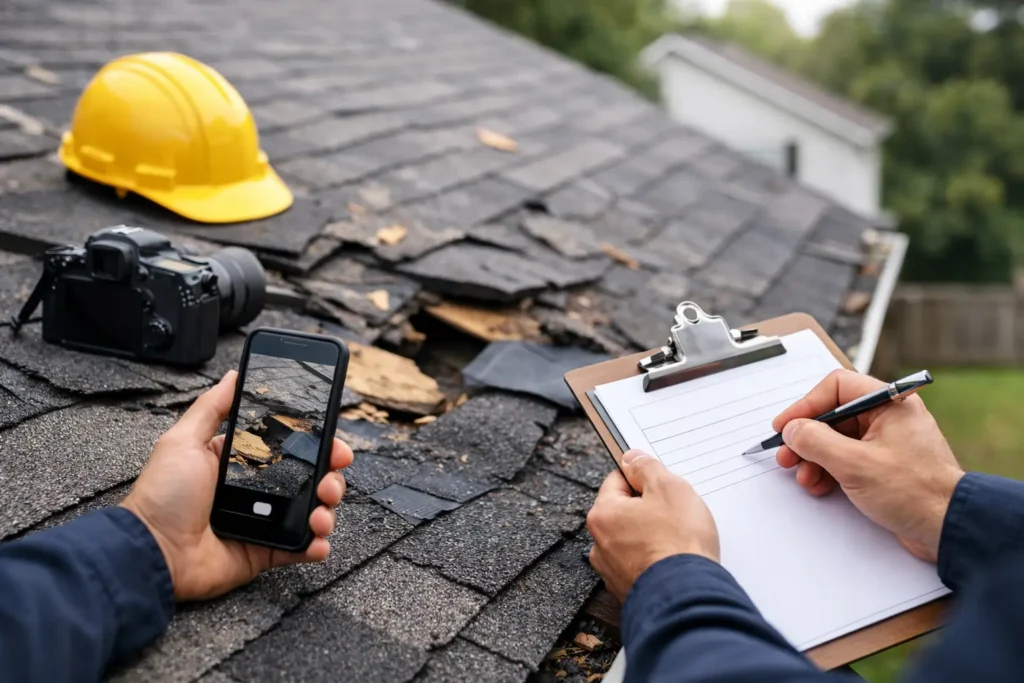
A storm can leave your property looking mostly normal from the driveway while shingles, flashing, gutters, and roof decking have taken a real hit. Knowing how to document storm roof damage before temporary repairs or cleanup begin can protect your claim, speed up the inspection process, and give your contractor a clearer starting point.
The goal is not to diagnose every roofing problem yourself. Your job is to create an honest, time-stamped record of what happened and what you can safely see. Do not climb onto a wet, steep, damaged, or debris-covered roof to get better pictures. A safe photo from the ground is far more useful than an injury.
Start With Safety and Urgent Protection
Before you take photos, look for immediate hazards. Stay away from downed power lines, broken glass, unstable trees, and sagging sections of the roof or ceiling. If a tree has struck the structure, if water is actively entering the home, or if the roof appears unsafe, contact emergency services when appropriate and arrange professional emergency roof repair.
If water is coming inside, protect belongings first. Move furniture, electronics, documents, and rugs out of the affected area. Use buckets to catch drips and place a tarp over belongings, not over the roof unless a trained professional can do it safely. Keep receipts for reasonable emergency supplies and mitigation work. Insurance carriers generally expect property owners to prevent additional damage when they can do so safely.
Take a few wide photos before moving items or beginning cleanup. Those first images help show the condition of the property immediately after the storm.
Record What Happened While It Is Fresh
Storm damage documentation starts with the event itself, not just the roof. Write down the date and approximate time of the storm, along with what you observed: strong wind, hail, heavy rain, fallen limbs, or a sudden leak. If weather alerts, local reports, or neighbors confirm severe conditions in your area, save those details with your records.
Use your phone’s notes app, a notebook, or an email sent to yourself. Include simple facts rather than guesses. For example: “Water began dripping from the living room ceiling around 8:30 p.m. during heavy rainfall” is stronger than “The roof must be ruined.” Clear observations make it easier for an adjuster and roofing professional to connect visible damage with the storm event.
If you noticed issues before the storm, document those honestly too. A carrier may distinguish between new storm damage and wear from age, deferred maintenance, or a prior leak. Being upfront protects your credibility and helps establish the correct repair scope.
How to Document Storm Roof Damage With Photos
Use your phone camera in good daylight if conditions allow. Take more photos than you think you need, but keep them organized. Start wide, then work closer. A useful photo set shows the whole property, each elevation, specific areas of concern, and any resulting interior damage.
From the ground, photograph every side of the home or building. Capture the roofline, ridges, valleys, chimneys, vents, skylights, gutters, downspouts, and any area where shingles appear lifted, missing, creased, or scattered on the ground. If a tree limb or debris hit the roof, photograph it before it is removed, then photograph the area again after safe removal.
For close-up evidence, use a safe vantage point such as a window, balcony, or ground-level view. Do not use a ladder unless you are trained, the ground is stable, and conditions are dry. Better yet, let a qualified roofing professional inspect elevated areas.
Your photos should include these distinct types of evidence:
- Wide shots that show the full home, roof slopes, and surrounding storm conditions.
- Close photos of missing shingles, creases, exposed underlayment, damaged flashing, dented vents, or displaced gutters.
- Ground evidence, including shingle pieces, granules, fallen branches, and hailstones if they are still present.
- Interior evidence, such as water stains, active drips, wet insulation, damaged drywall, or soaked flooring.
- Supporting property damage, including dented metal fencing, window screens, HVAC equipment, vehicles, or exterior fixtures.
Hail damage can be difficult to identify in a photo, especially on dark shingles. Dented soft metals like roof vents, flashing, gutter guards, and downspouts may provide helpful supporting evidence, but they do not automatically prove the roof needs replacement. Wind damage can also be subtle. A shingle may be creased or have a broken seal without being completely missing. This is where a professional inspection matters.
Keep original photo files whenever possible. Avoid heavy filters, edits, or screenshots that remove dates and location information. If you take a video, walk slowly around the property and narrate what you are seeing, including the date and location. Video is helpful support, but it should not replace still photos of specific damage.
Document Interior Damage and Active Leaks
Roof damage is often first discovered inside. Photograph ceiling stains, bubbling paint, damp walls, wet attic insulation, and water around light fixtures. If water is near electrical outlets, fixtures, or a breaker panel, do not touch it. Turn off power only if it is safe to do so, and call a qualified professional.
For a ceiling stain, take one photo from across the room to show where it is located and another closer image to show its size and texture. Place a tape measure nearby when practical. Repeat this approach for damaged flooring, furniture, inventory, or equipment in a commercial building.
An attic can provide useful evidence, but only enter if it is safe, adequately lit, and the ceiling structure is not sagging. Photograph wet decking, daylight visible through the roof, damp insulation, or dripping around penetrations. Do not step on drywall between joists, and do not disturb wet insulation just to get a better picture.
Build One Organized Claim File
Photos are easier to use when they are not buried among hundreds of unrelated images. Create one folder labeled with the property address and storm date. Save photos, videos, notes, weather information, receipts, inspection reports, and communication with your insurer in the same place.
Rename the most important images with plain descriptions, such as “North roof slope – missing shingles” or “Kitchen ceiling leak – July 17.” You do not have to rename every photo, but labeling key evidence makes it easier to reference during an inspection or claim conversation.
Keep a simple contact log. Write down the date, time, name, company, and a short note each time you speak with your insurance carrier, adjuster, contractor, or mitigation company. Save claim numbers, emails, and estimate documents. If an adjuster visits, ask when you can expect the written estimate and what additional documentation is needed.
Do not throw away damaged materials, such as a fallen vent cover or torn shingle pieces, until your insurer says they are no longer needed. Store them safely and take photos first. The same applies to receipts for emergency tarping, water extraction, temporary repairs, and replacement of damaged personal property.
Get a Professional Roof Inspection Before Major Repairs
Once the property is safe and documented, schedule a qualified roof inspection. A professional can inspect areas that are unsafe or impossible to evaluate from the ground, including flashing, pipe boots, shingle seals, punctures, decking condition, and storm-related damage across each slope.
Ask for clear findings and photos that identify the location of damage. A trustworthy contractor should explain what they found, what is storm-related, what may be pre-existing, and whether temporary repairs or a full replacement are appropriate. The right answer depends on the roof’s age, material, extent of damage, local code requirements, and the repairability of the affected system.
Be cautious with anyone who promises an insurance-funded roof before inspecting the property or pressures you to sign immediately after a storm. You deserve accurate information, not a sales pitch built on urgency.
For East Texas homeowners and businesses, Spartan Exteriors can provide a professional storm-damage inspection, emergency protection when needed, and clear documentation to help you understand the next step. The strongest claim file is not the one with the most dramatic language. It is the one that shows the facts, protects the property, and gives every professional involved a clear picture of what the storm left behind.